

Sift together:
2 ¾ cups sifted reg. flour
4 ½ teaspoons baking powder
1 teaspoon salt
¾ cup granulated sugar
Add:
¾ cup firmly packed brown sugar
1 cup milk
Beat for two minutes on low speed, then on medium speed for two minutes.
Add:
¼ cup milk
3 eggs, unbeaten
1 teaspoon vanilla
Procedure: Beat for two minutes and pour into well-greased pan, 13 inches by 9 inches by 2 inches. Bake at 350°F for 40–50 minutes.
Topping:
Combine:
¼ cup melted butter
½ cup firmly packed brown sugar
¾ cup shredded cocoanut*
3 tablespoons cream
Spread on warm cake. Place under broiler and brown lightly.
Review:
If the past two installments of “Eat Like a Freshman” had you racing to the kitchen to bring bygone UW dishes to your table, this one may not be for you. But if your reaction to Chow Mein Loaf and Imperial Jell-Owas one of stomach lurching rather than tastebuds tingling, read on, dear gastronome.
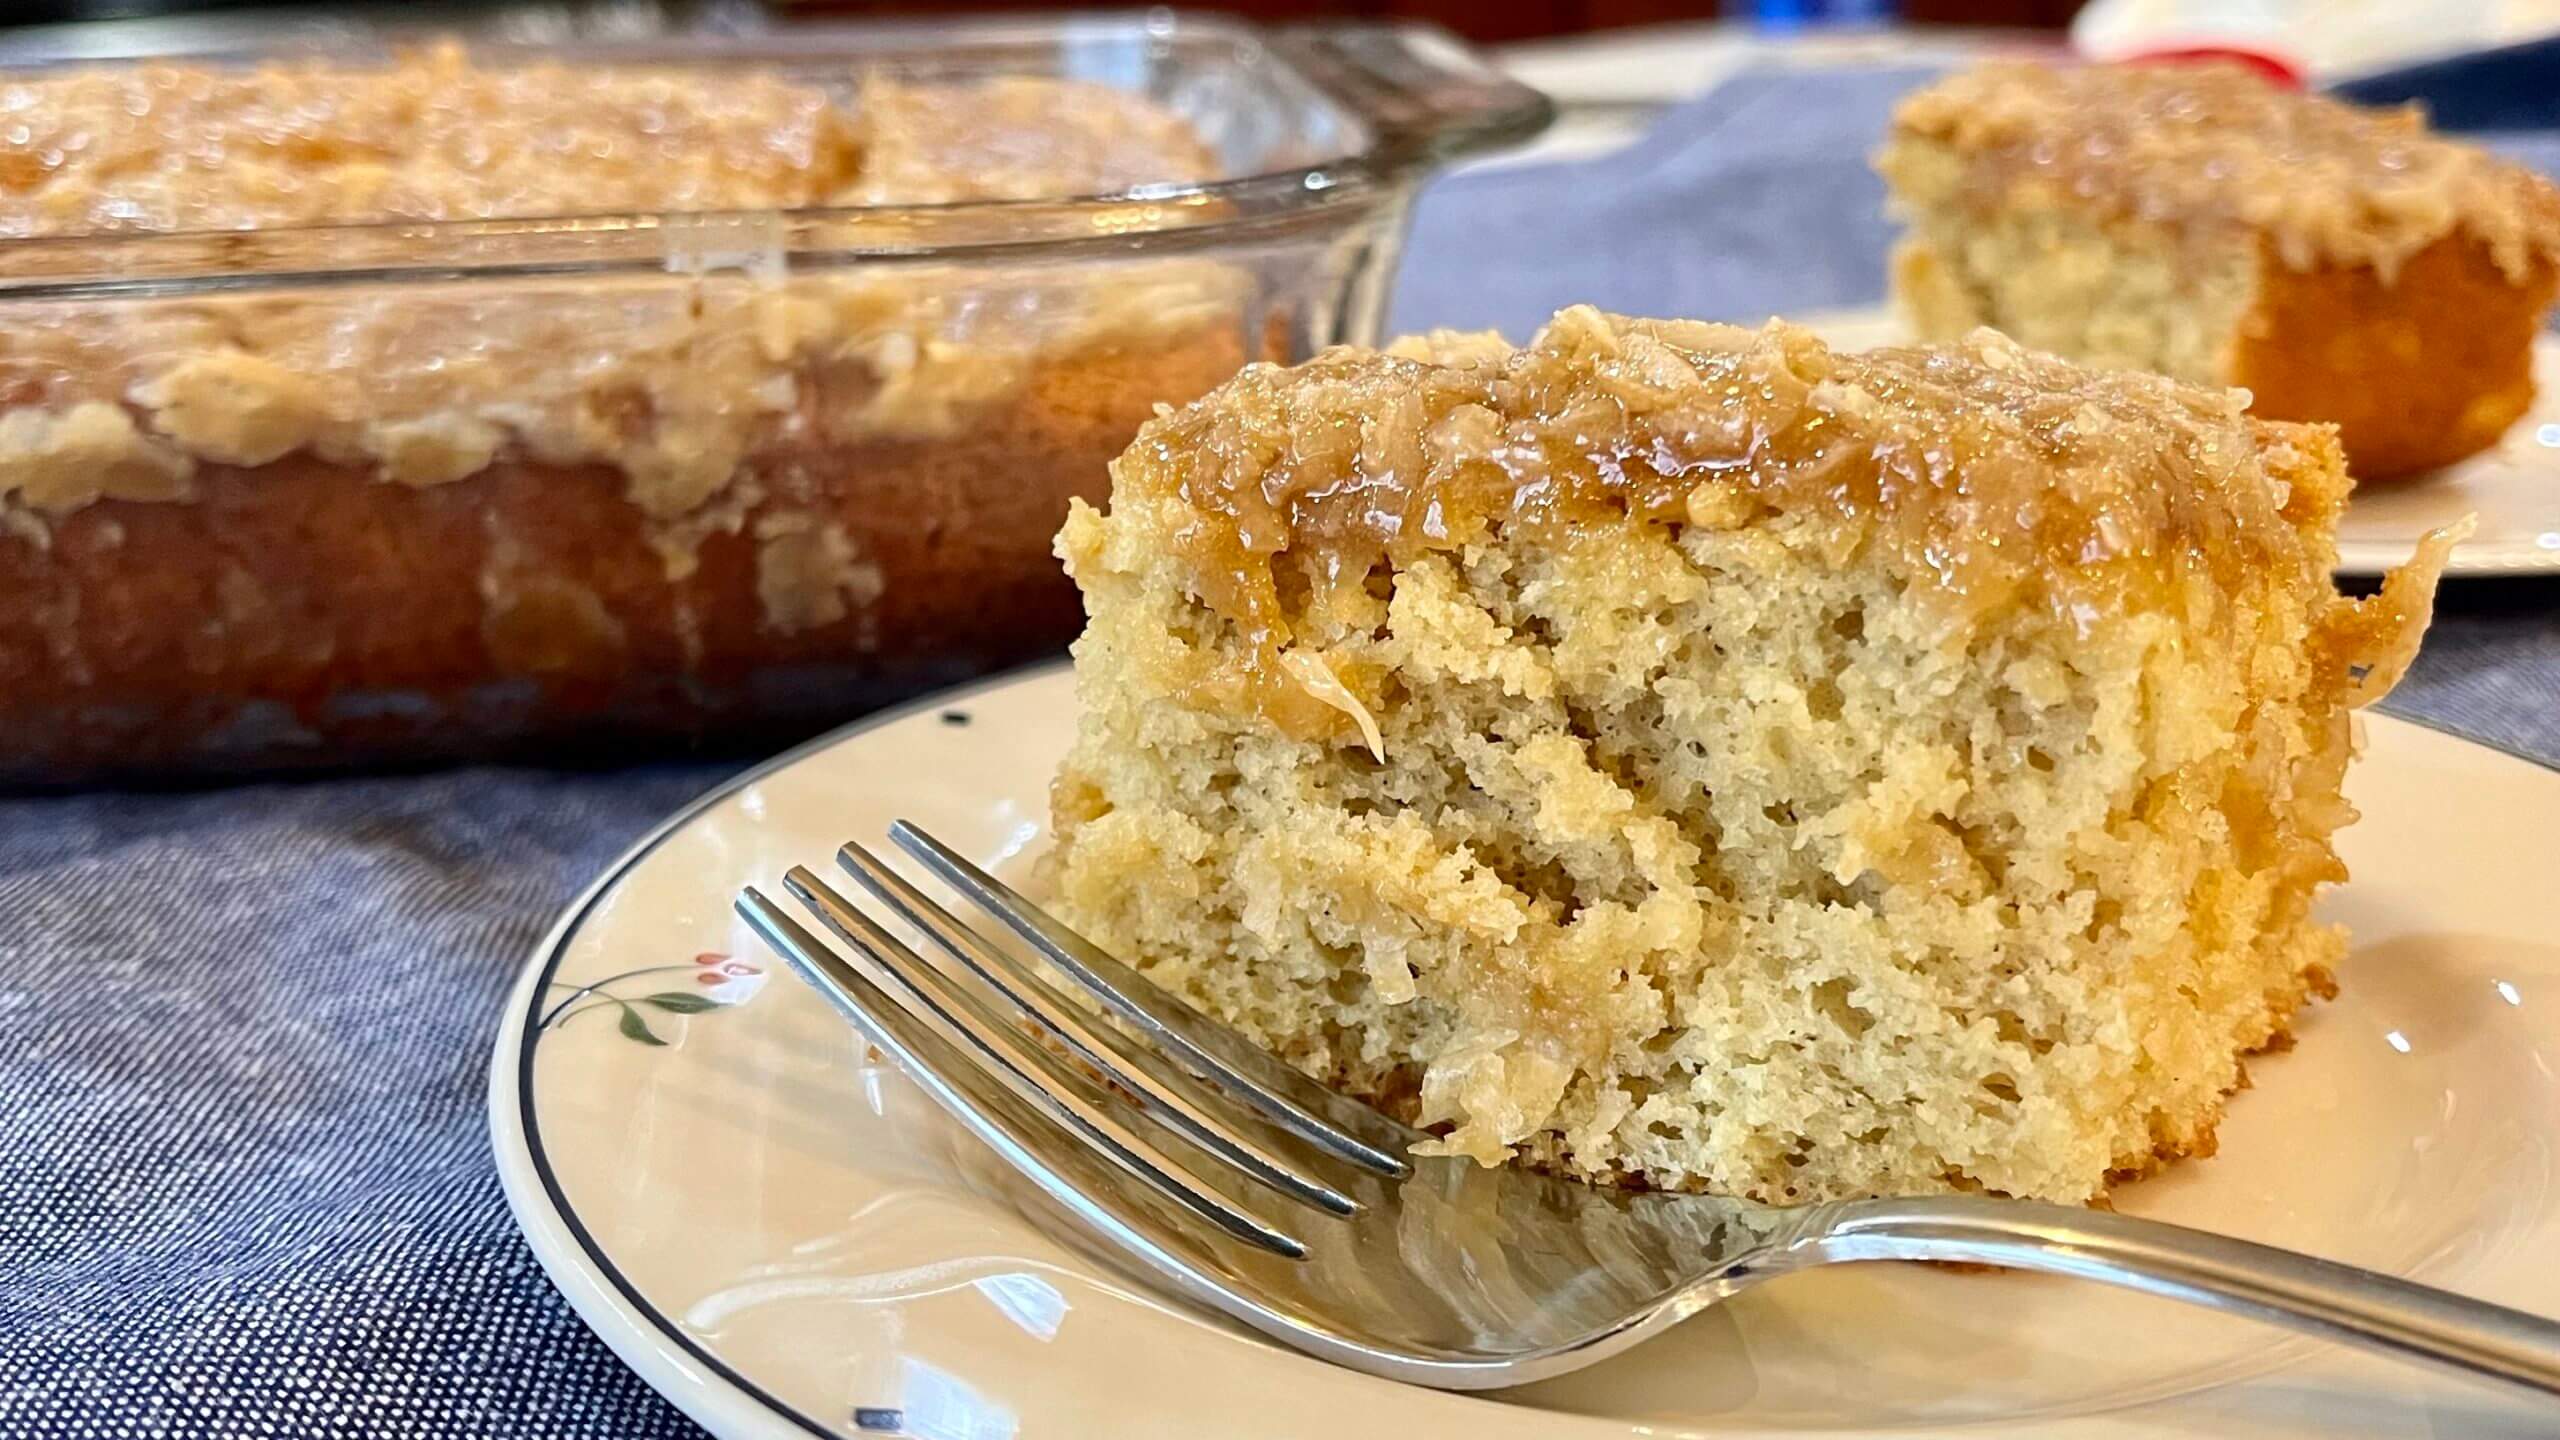
After two months of … savory? … dishes, we’re excited to present a sweet addition to your next party menu: Lazy Daisy Cake. The recipe comes from the Elizabeth Waters Cookbook, published just twice (in 1955 and 1965) for the dorm’s residents — then an all-female cohort. On first glance, the recipe is about as simple as you can get (likely resulting in its lazy qualifier). And upon completion … yeah, it’s about as simple as you can get. As a huge fan of both cake and simplicity, I knew this was the perfect recipe for me to try for my first “Eat Like a Freshman” attempt.
Another thing that drew me to this recipe, believe it or not, was the odd spelling of cocoanut.*
I’d never seen that spelling before, and ever the lover of a linguistic mystery, I headed to Google’s ngram viewer before busting out the measuring cups. Coconut with an a was the most popular spelling until 1913, when the a-less version we know today took over. (The Wisconsin Historical Society had the same question when they re-created an 1888 coconut cake.) But you didn’t come here for coconuts, so let’s dig into the recipe.
I thought I would have to set aside my stand mixer and use historically accurate supplies, but I was pleased to learn that the stand mixer has been around since 1908. And so, with a gratitude-filled hoist, my Badger-red KitchenAid got to work. Where I purposefully deviated from the recipe was in the amount of gluten — from gluten-full to gluten-free. (And yes, not wanting to scare away gluten eaters, I did bury the lede.) This first switch was easy enough: subbing my favorite gluten-free flour blend one-to-one. I also added ¼ teaspoon of xanthan gum to help bind the batter together, and I increased the baking powder. For those unfamiliar with gluten-free baking: things that are meant to be light and airy tend to fall flat and dense. Increasing the amount of baking powder or soda can give you a much-needed lift. (Sodium bicarbonate does, after all, produce carbon dioxide gas when moistened, resulting in puffy cookies and fluffy cakes. I had to Google this, too.) I had intended to increase my version from 4 ½ teaspoons of baking powder to five … but I got distracted mid-count and may have ended up with six. If you’re trying this recipe gluten free, I’d recommend splitting the difference and giving 5 ½ teaspoons a go.
In the next step — incorporating the brown sugar and milk — I also upped the amount of milk by about a tablespoon (gluten-free baking tends to also get quite dry). But after step three of adding more milk, eggs, and vanilla, the batter was so runny that I had a moment of panic. I considered adding more flour, but in the interest of sticking to the recipe (minus the GF accommodation), I decided to roll with it. Plus — doctors and food scientists, look away — the batter was positively scrumptious.
My cake baked for exactly 40 minutes before a tester toothpick came out clean. Typically, things in my oven take longer than the recipe calls for, so I’d recommend giving your cake a check around 35 minutes.
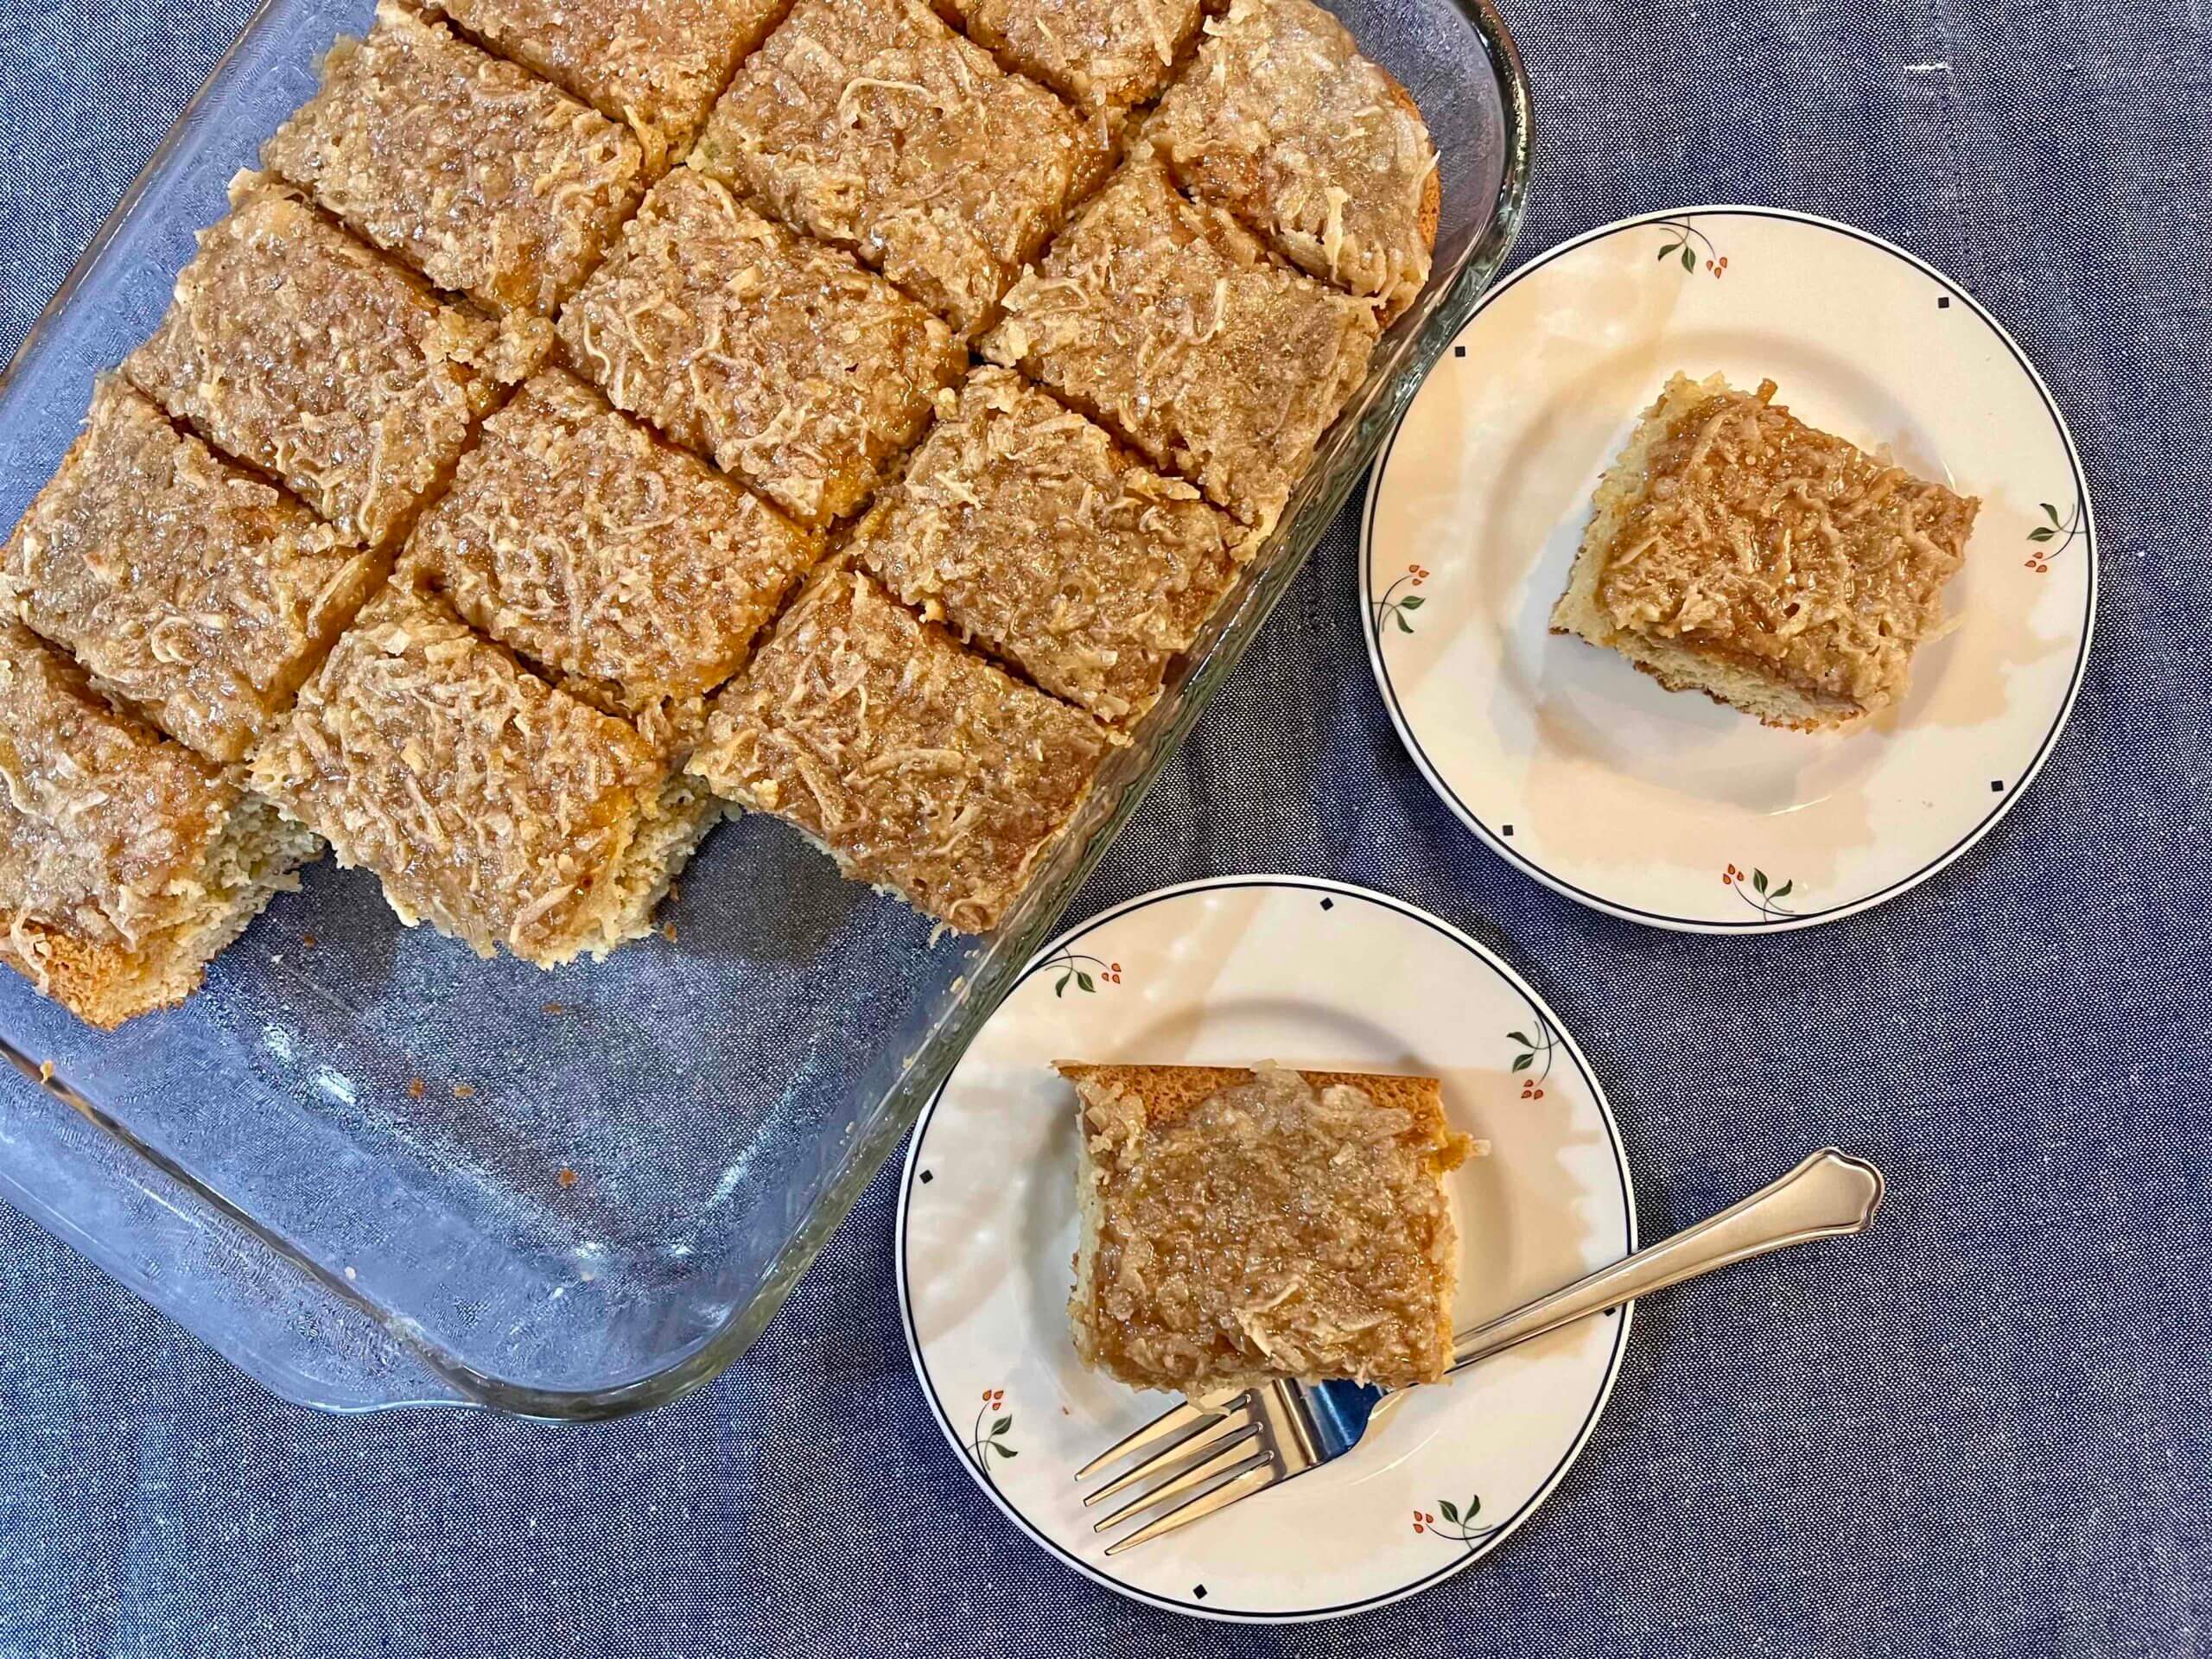
As soon as the cake came out, I started on the topping. Instead of using plain cream, I went nuts and subbed in my sweet cream coffee creamer for even more sugar! Have you ever broiled a cake before? I haven’t — and this was the only point in the recipe when I disagreed with the Liz Waters chefs. Since the shredded coconut got mixed in with the melted butter (yum), there weren’t many dry pieces of coconut to brown. I wondered if sprinkling some extra coconut flakes on the top before broiling would have been more successful. Popping it under the broiler nicely caramelized the sugar, but in the interest of being lazy, it seemed like an unnecessary extra step.
So … how was it? I really liked this cake! It had great texture, and there was something familiar and cozy about the flavor. I’d be curious to know how it turns out with “reg.” flour — try it and let me know!


